


Zi Hao from the concave temple
Qubit Report | Public Account QbitAI
CG novices, your gospel is here~

In order to allow beginners to better learn the basics of computer graphics, a Harvard brother created graphics-workshop , Has been available on GitHub in about a week 1K star.
It contains 5 sub-projects: quilt block pattern, procedural texture generation, rasterization and coloring, stylized rendering, and ray tracing.
Users need to use npm To install, install dependencies and start the development server by running the following code.
3packages arelooking forfunding run npm fundfordetails
found0vulnerabilities
$ npm run dev
vite v2 .1.5dev serverrunning at:
Local: http://localhost: 3000/ > Network: http:// 10.250.14.217: 3000/
ready in555ms.
How to use it? Let’s see it together.
Quilt block pattern
First, you can make a quilt block pattern as Starter project , It shows the 2D grid The process of rendering in the middle.
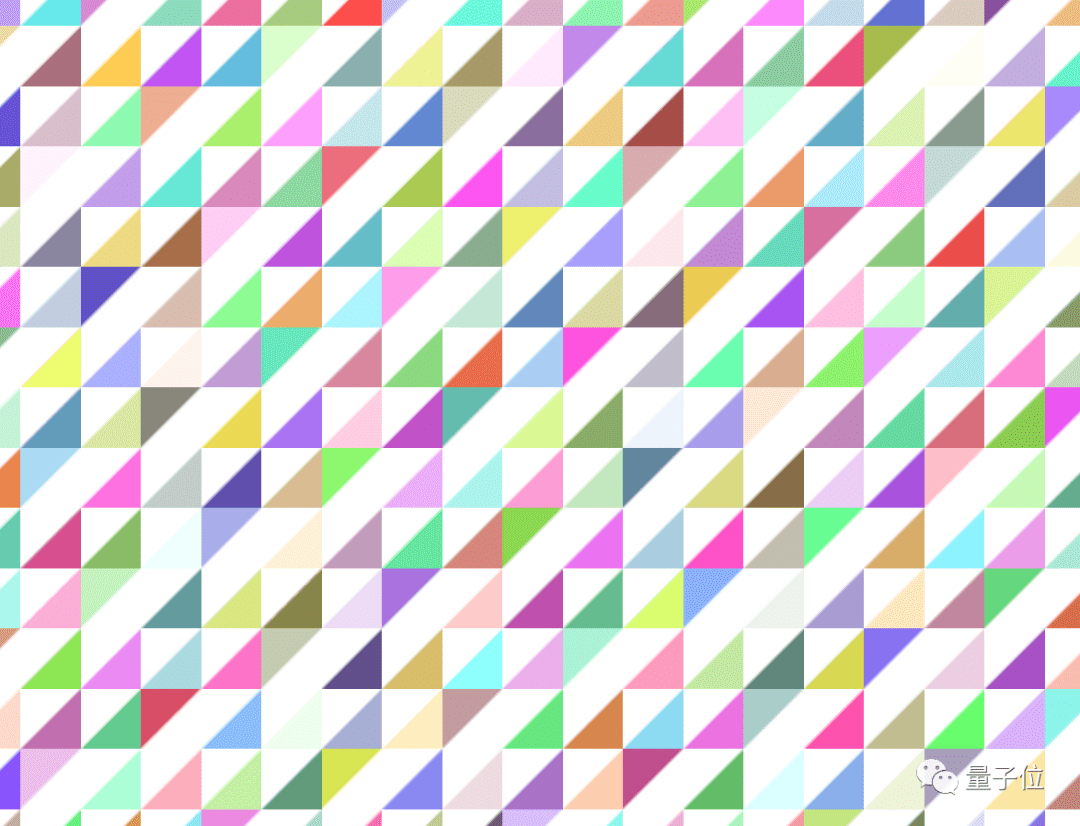
The author gave the corresponding code in “shaders/quilt.frag.glsl”. The fragment shader traverses each pixel and passes the pixel number into gl_FragCoord.xy to draw a 2D grid.
Novices can pass Uncomment , To change the graphics, including drawing, flipping the shape and changing the color.
For example, modify the if statement, you can change the geometric shape of the pattern;
If you want to generate richer RGB colors, you can modify the variable c to achieve:

Finally, use gl_FragColor to output the color of the pixel.
Procedural texture generation
In addition to making quilt block patterns, you can also create scenes similar to those in “Minecraft”:

To generate a natural look, the developers used a common graphics primitive called simplex noise. The function float snoise(vec2) is used to receive the vector and output a smooth scalar noise value at that position.
Since the noise values at different positions are roughly independent, changing the seed at the top right of the screen will enable you to see the new shape output after rendering.
Uncomment the first code block in turn, learn to combine noises of different pitches to change the texture; uncomment the second code block, learn to use thresholds (especially mix and smoothstep functions) to adjust colors.
In addition, you can also add parameters, such as: using temperature, independent sampling from the noise map to change the shadow, etc.
Rasterization and shading
Same algorithm as most video games, using rasterization method to render 3D triangle mesh , Presenting a more realistic effect:
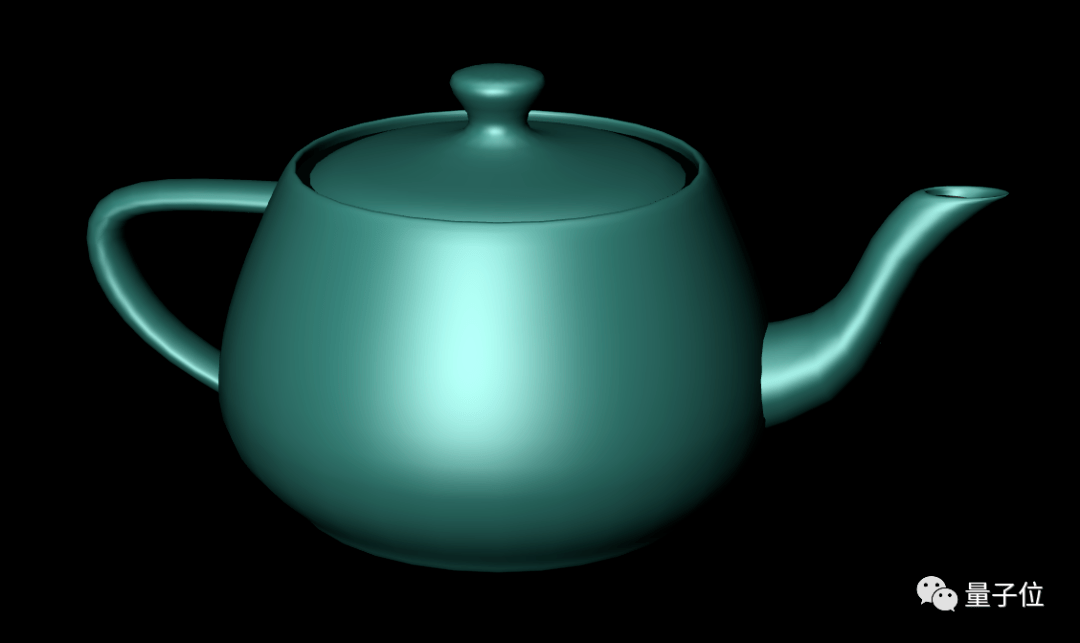
Decompose the 3D surface into triangles, and then draw each triangle independently on the screen and insert variables between them.
The image is stored as a triangle mesh, and the fragment shader will evaluate each fragment of the triangle once, not for each pixel.
Users can click and drag to view different angles of the graph, view shapes other than the teapot through mesh, and use kd to change the color of the object.
With the illuminate function, the position of the light source and the effect of the light source on the color of the current pixel can be expressed.
The code currently only supports diffuse reflection, users can also update the code and add Phong reflection of mirror Components.
Stylized rendering
The code for this project is very similar to the above project.
But after the lighting calculation, the color will not be output immediately, but According to the brightness intensity threshold , Discretization and processing of different styles.

Ray tracing
Ray tracing is the gold standard in photorealistic rendering.
By shooting a ray for each pixel, the fragment shader is used for geometric calculation, and the trace function is used to return the color corresponding to the given ray for modeling.
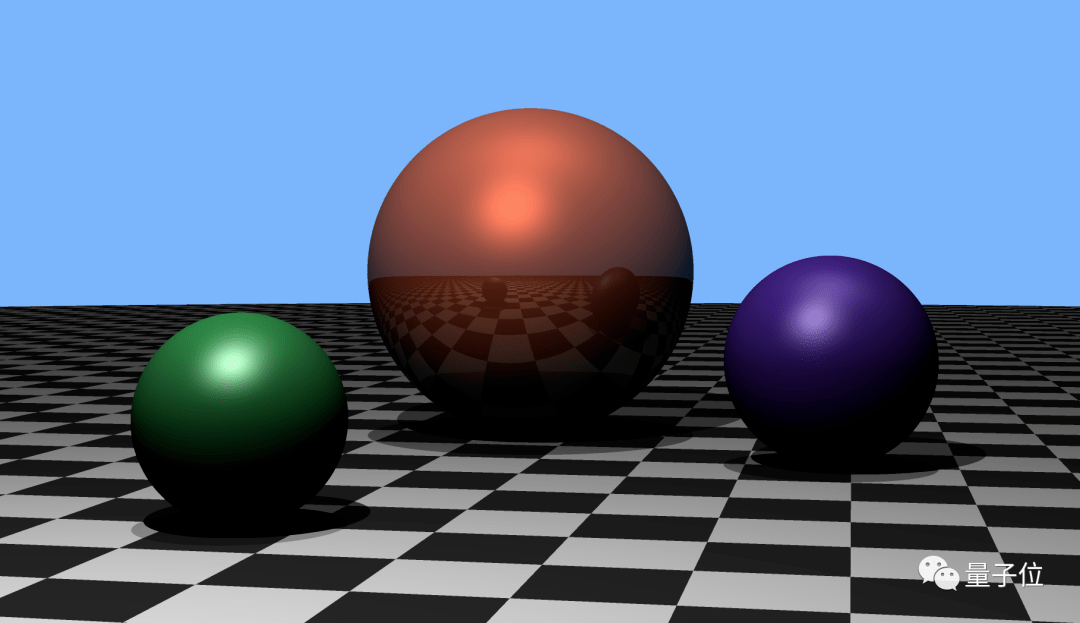
Use the intersect function to calculate the first intersection of any ray in space; illuminate is used to add the effects of two point light sources to calculate the illumination of a given point.
Before performing lighting calculations, add conditional statements to check whether the rays from the point to the light source are blocked. If it is occluded, it should immediately return to vec3(0.0) to simulate shadows.
By modifying the code, you can also select the intensity and add a third point light source at a different position.
About the Author
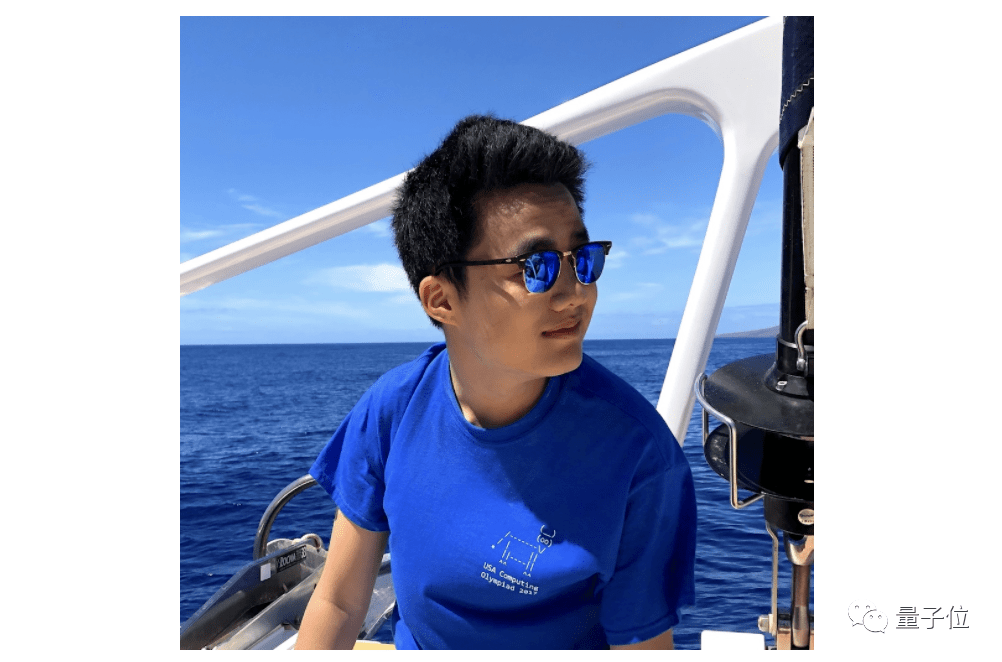
Developer Eric Zhang , Is currently a master’s degree student at Harvard University. His main research direction is machine learning and programming languages. He had an internship at NVIDIA.
He has won two IOI gold medals and wrote a book for high school students Physics book , And provide a free electronic version.

Not only that, the younger brother is also good at music and has won many awards for his viola performance.
He often shares articles on his personal website, and has published multiple projects on Github, all of which have had a good response.
Interested friends, please click the link to learn more~
Reference link:
[1]https://github.com/ekzhang/graphics-workshop
[2]https://www.ekzhang.com/
[3]https://www.aapt.org/physicsteam/2020/pastexams.cfm
— Finish —
This article is the original content of the NetEase News•NetEase Featured Content Incentive Program signed account[qubit]. Unauthorized reprinting of the account is prohibited.
Join the AI community and expand your network in the AI industry
Qubit “AI Community” is recruiting!Welcome AI practitioners and friends who are concerned about the AI industry to scan the QR code to join, and 50000+name Friends pay attention to artificial intelligence together Industry Development & Technology Progress :
Qubit QbitAI · Toutiao Signing Author
վ’ᴗ’ ի Tracking new trends in AI technology and products
One-click three consecutive “Share”, “Like” and “Looking at”
The frontiers of science and technology are seeing each other every day~


You must log in to post a comment.